Scenery Begins at Pearson Curve
After completing some items to improve operations on the Shenandoah Division
(see the 12/31/2006 Progress Report), I decided I
wanted to start some scenery on the new portion of the layout. Even though there
is still a rather long list of operations-related projects for the Shenandoah
Division, I didn't want to wait any longer to start on scenery. I made this
decision partly because I was getting a little burned out from operational
projects, and partly because I didn't want the 5-year anniversary--January 19,
2002!--of the start of construction to pass without
at least adding some scenery to the railroad.
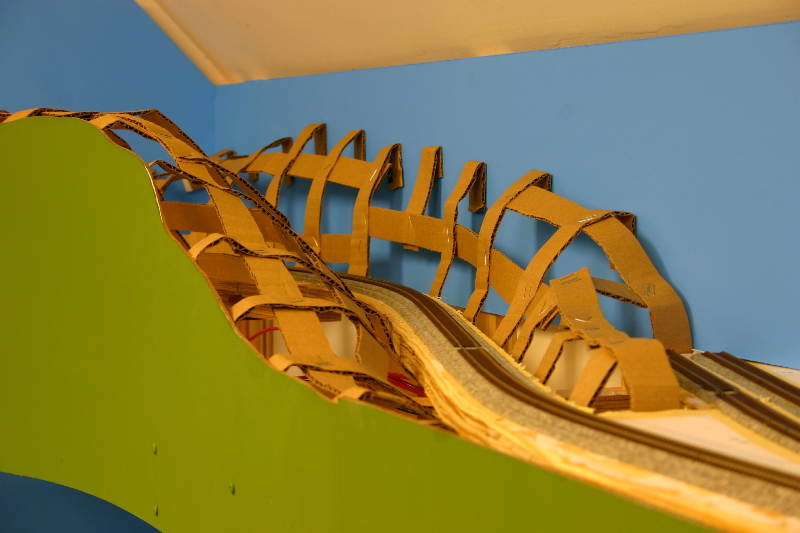
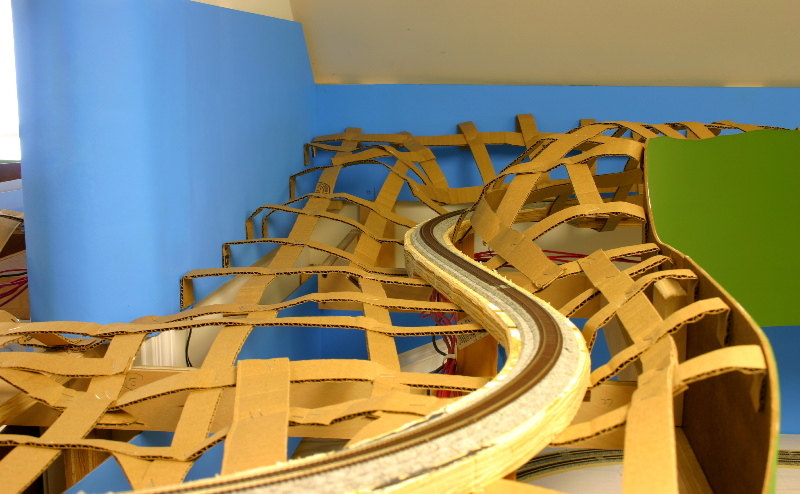
I started the scenery by installing a web of 1" wide cardboard strips which
Cherie had previously (and graciously) cut. I space the strips by eye, but
they're generally about 4" or so on center, as I knew from previous experience
this works well with the Woodland Scenics or Scenic Express plaster cloth that I
like for scenery. I used a low-temp hot glue gun to glue the strips to the
backdrop, fascia, and plywood subroadbed. I used a small hand-sized stapler to
staple the cardboard together where the pieces cross one another. I did most of
this work around the end of 2006 (see the 12/31/2006
Progress Report for the previously posted sneak peek) and beginning of 2007.
On the previous version of the Shenandoah Division, I had placed the plaster
cloth directly on the cardboard web. However, reading a
post on Joe Fugate's Siskiyou Line forum about his scenery techniques led me
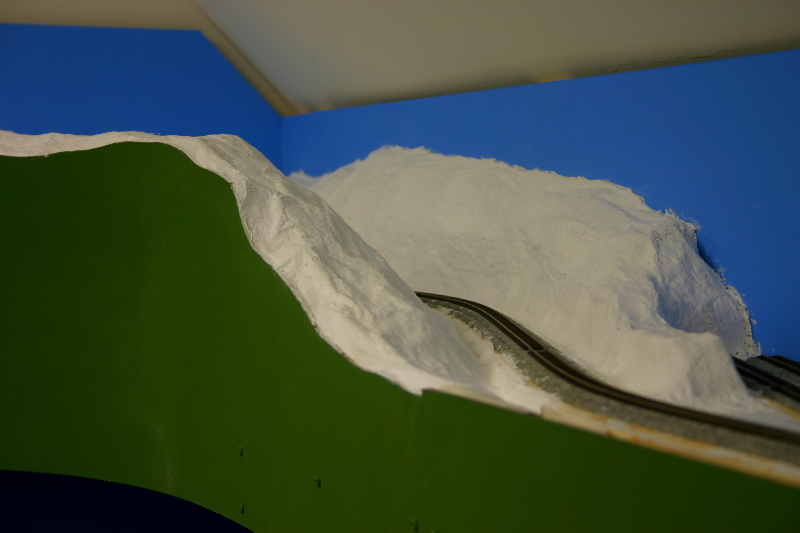
to try a new approach. According to the post on his forum, Joe uses 2" wide
masking tape over the web to help him visualize the finished scenery and to
prevent plaster from dropping through the web. A couple of the guys in my
operating crew came over for a work session on a Saturday, and we decided to try
the masking tape to see how it worked. We did indeed think it helps to visualize
the scenery, although we ended up not making any changes in the cardboard web.
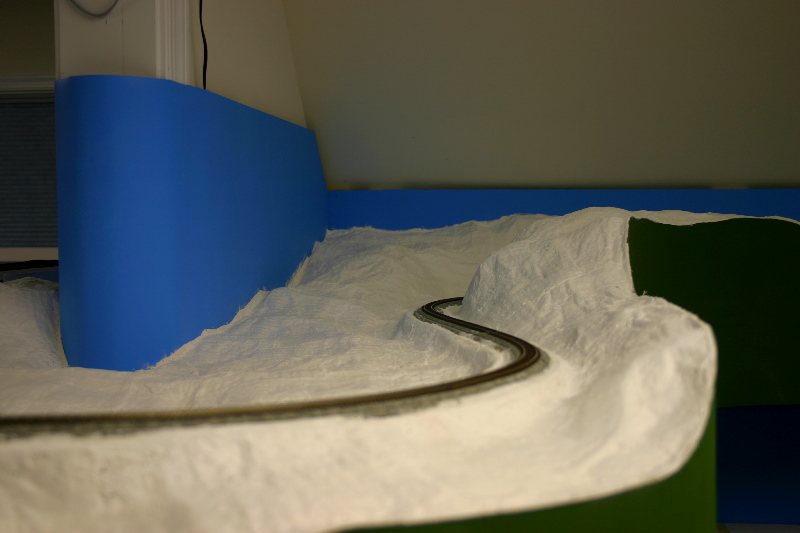
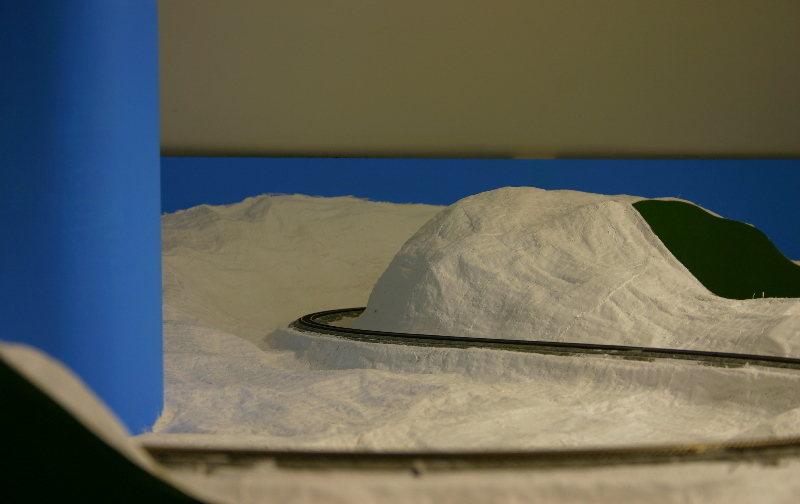
We then applied plaster cloth on top of the masking tape and cardboard
combination, and we definitely noticed less water and plaster dripping through.
We will likely continue using this technique.
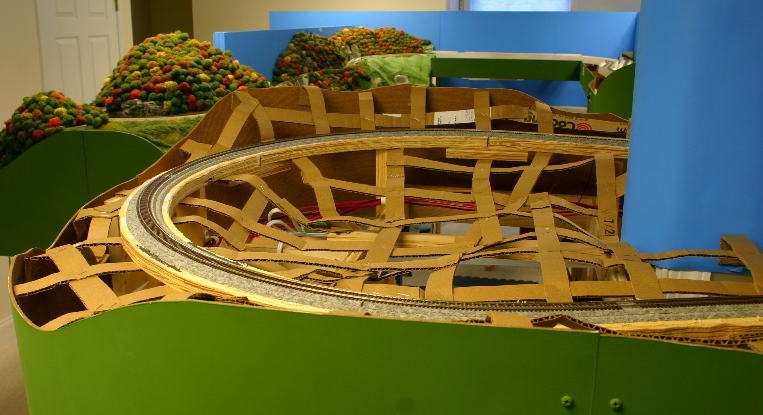
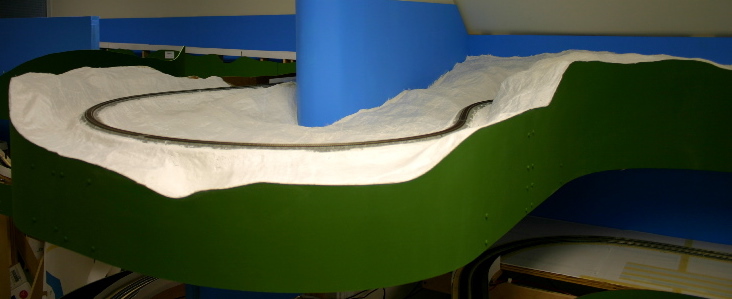
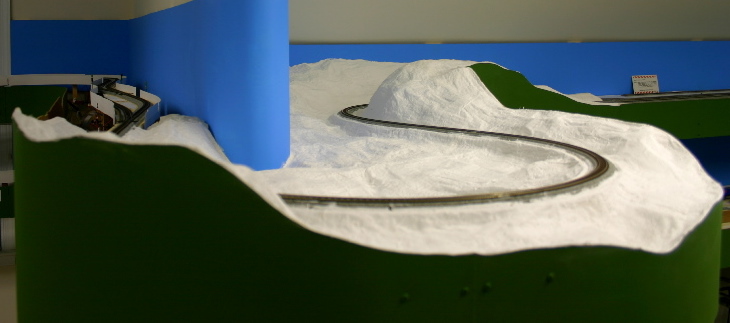
The location on the layout where I started scenery is based on the Western
Maryland's Helmstetter's Curve. The version on the Shenandoah Division is named
Pearson Curve, and the scene will continue to be developed as I need breaks from
working on operations related projects. I have several of these projects I'd
like to complete in 2007, so stay tuned for various progress reports whenever I
have anything interesting to report. :-)
(Note: All of the scenery work in this report was done between 01/01/2007 and
01/06/2007. Some of the pictures were taken on 01/06/2007 and the rest on
01/12/2007. The posting of this report has been delayed until 01/31/2007 because
of time constraints.)
|